Tuesday, November 12, 2024
Step-by-Step Birdhouse Building Guide for All Skill Levels

Step-by-Step Birdhouse Building Guide for All Skill Levels
Welcome to the delightful world of birdhouse building! Whether you're a seasoned woodworker or a curious beginner, crafting a welcoming home for feathered friends is a rewarding and enjoyable project. This comprehensive guide will lead you through the process, from choosing the right materials to adding finishing touches. Get ready to build a sanctuary for birds and create a beautiful addition to your garden!
Choosing the Right Birdhouse
Before you dive into building, consider the birds you want to attract. Different species prefer different styles and sizes of birdhouses. Research the common birds in your area and select a design that best suits their needs. Look for resources online or at your local library to find detailed information about birdhouse dimensions and features.
Birdhouse Styles
There are countless birdhouse designs available, each with its own unique appeal. Popular choices include:
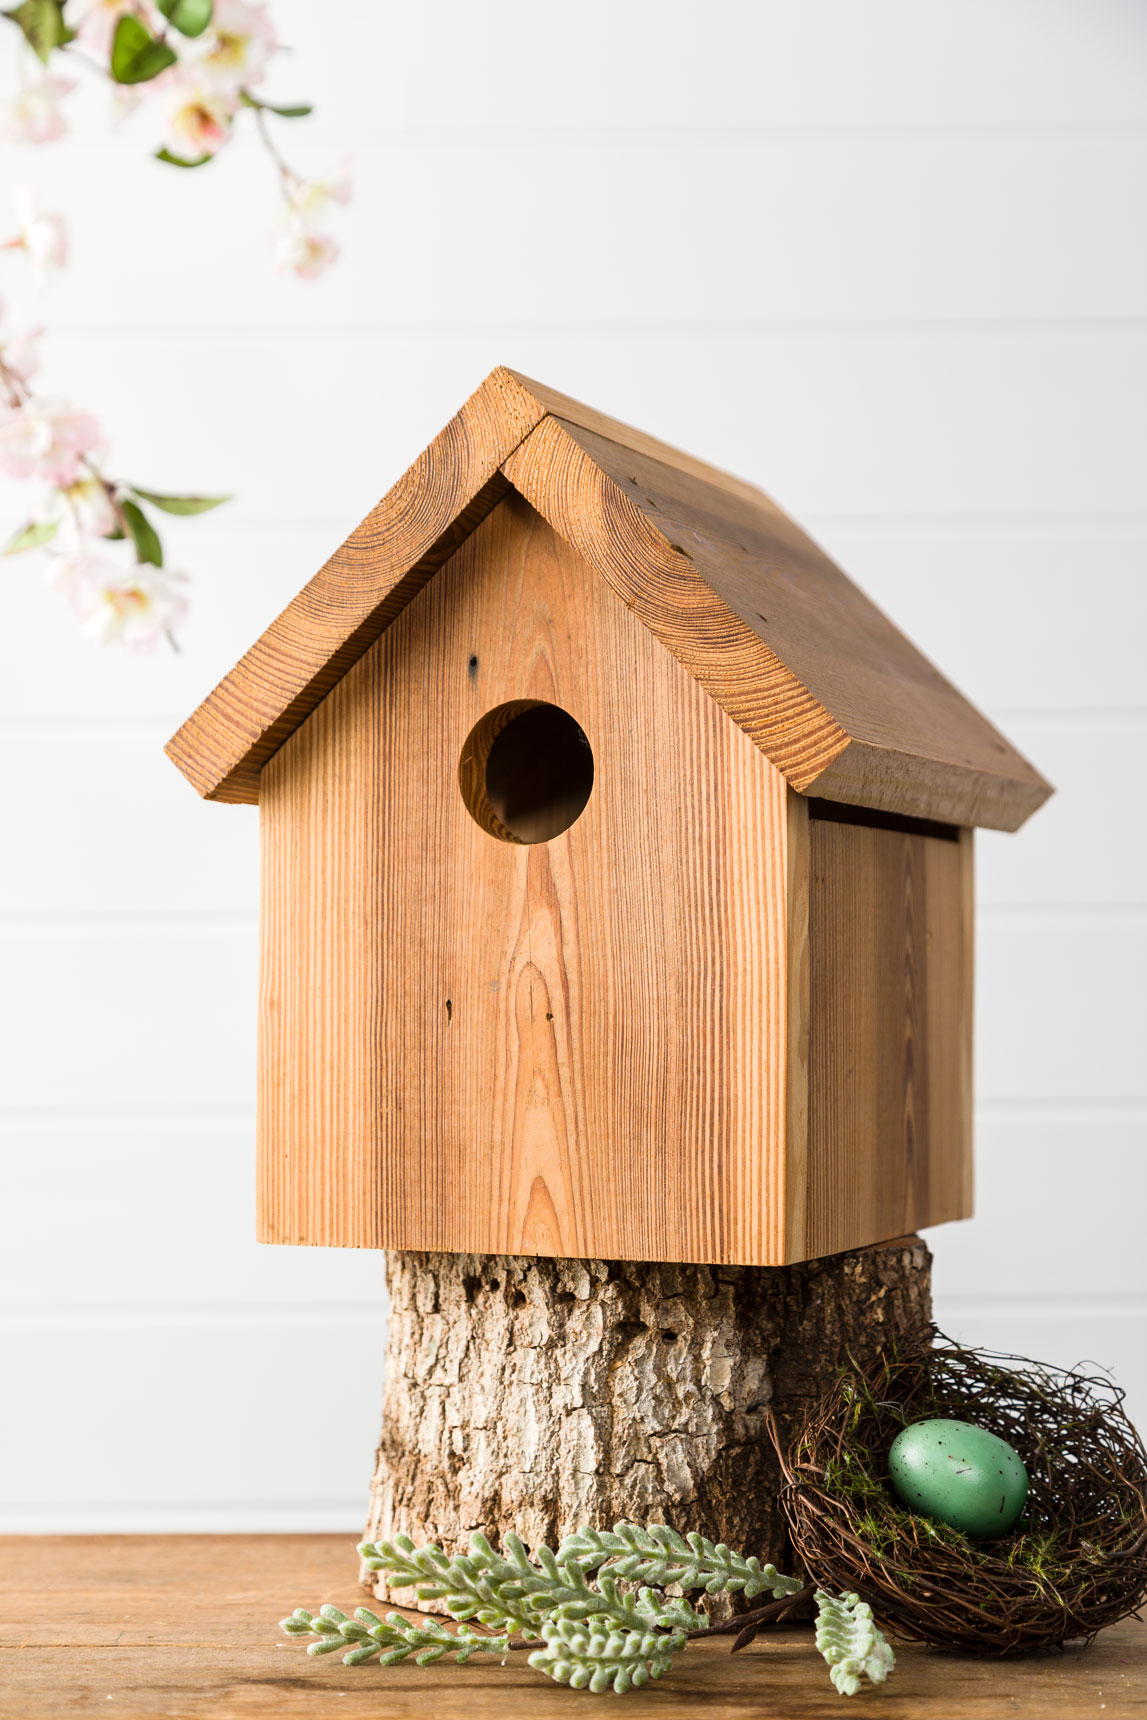
- Classic Birdhouses: These traditional designs feature a simple box shape with a slanted roof and a small entrance hole.
- Bluebird Houses: Designed specifically for bluebirds, these houses have a slightly larger entrance hole and a nesting box that allows for easy observation.
- Squirrel-Proof Birdhouses: These houses incorporate features like metal baffles or a roof overhang to prevent squirrels from accessing the nesting cavity.
Materials You'll Need
Gather the necessary materials for your chosen birdhouse design. Depending on your preferences and the level of detail you desire, you might need:
- Wood: Cedar, redwood, or pine are excellent choices for birdhouses. They are naturally resistant to rot and decay.
- Screws: Choose screws that are appropriate for the thickness of your wood. Stainless steel screws are ideal for outdoor use.
- Saw: A hand saw, circular saw, or jigsaw will help you cut the wood to the desired size.
- Drill: Use a drill with appropriate drill bits for creating the entrance hole and any other necessary holes.
- Measuring Tape: Accurate measurements are essential for constructing a well-proportioned birdhouse.
- Sandpaper: Sand the edges of your birdhouse to create a smooth and safe surface for the birds.
- Paint or Stain: If you want to add a decorative touch, use non-toxic paint or stain to protect your birdhouse and enhance its appearance.
Beginner's Birdhouse Project: The Classic Design
This beginner-friendly birdhouse is perfect for those new to woodworking. It features a simple box shape and is easy to assemble.
Step 1: Cut the Wood
Cut your wood to the following dimensions:
- Front and Back Panels: 6 inches x 8 inches
- Side Panels: 6 inches x 6 inches
- Roof: 8 inches x 10 inches
- Floor: 6 inches x 6 inches
Step 2: Assemble the Walls
Align the front and back panels with the side panels, ensuring all edges are flush. Use screws to attach the panels together, creating the box shape.
Step 3: Create the Entrance Hole
Use a drill to create an entrance hole in the front panel. The size of the hole will vary depending on the type of bird you want to attract. For small birds, a 1.5-inch diameter hole is ideal.
Step 4: Attach the Floor
Secure the floor to the bottom of the box.
Step 5: Attach the Roof
Cut the roof to a slight angle and secure it to the top of the box using screws.
Step 6: Finish Your Birdhouse
Sand the edges of your birdhouse to create a smooth finish. If desired, apply a coat of non-toxic paint or stain to protect the wood.
Beyond the Basics: Adding Features for Bird Comfort
For more advanced projects, consider incorporating features that enhance the birdhouse's comfort and safety:
- Ventilation: Drill small holes in the back or sides to allow for airflow.
- Drainage: Create a slight slope in the floor to ensure rainwater drains away.
- Nesting Material: Add a small amount of nesting material, such as wood shavings or shredded bark, to the bottom of the nesting box.
- Landing Platform: Install a small perch or platform on the front of the birdhouse, providing a place for birds to land before entering.
Placement and Maintenance
Once your birdhouse is complete, choose a strategic location for placement:
- Facing South or East: Position the birdhouse so that the entrance faces south or east, providing sunlight and warmth.
- Elevated and Secure: Place the birdhouse at least 5 feet above the ground, away from predators and potential dangers.
- Shade: Provide some shade from direct sunlight, especially during hot summer months.
Regular maintenance is essential to keep your birdhouse in optimal condition.
- Clean Regularly: At the end of nesting season, clean out the birdhouse to remove old nesting material and debris.
- Inspect for Damage: Check the birdhouse for signs of wear and tear, and make necessary repairs.
- Replace When Needed: If the birdhouse becomes significantly damaged, replace it with a new one.
Enjoy Your Feathered Guests
With a little creativity and effort, you can build a welcoming home for birds that will bring joy and beauty to your garden. Keep an eye out for new feathered residents and appreciate the wonders of nature in your own backyard. Happy birdhouse building!
No comments:
Post a Comment
Note: Only a member of this blog may post a comment.