Thursday, November 7, 2024
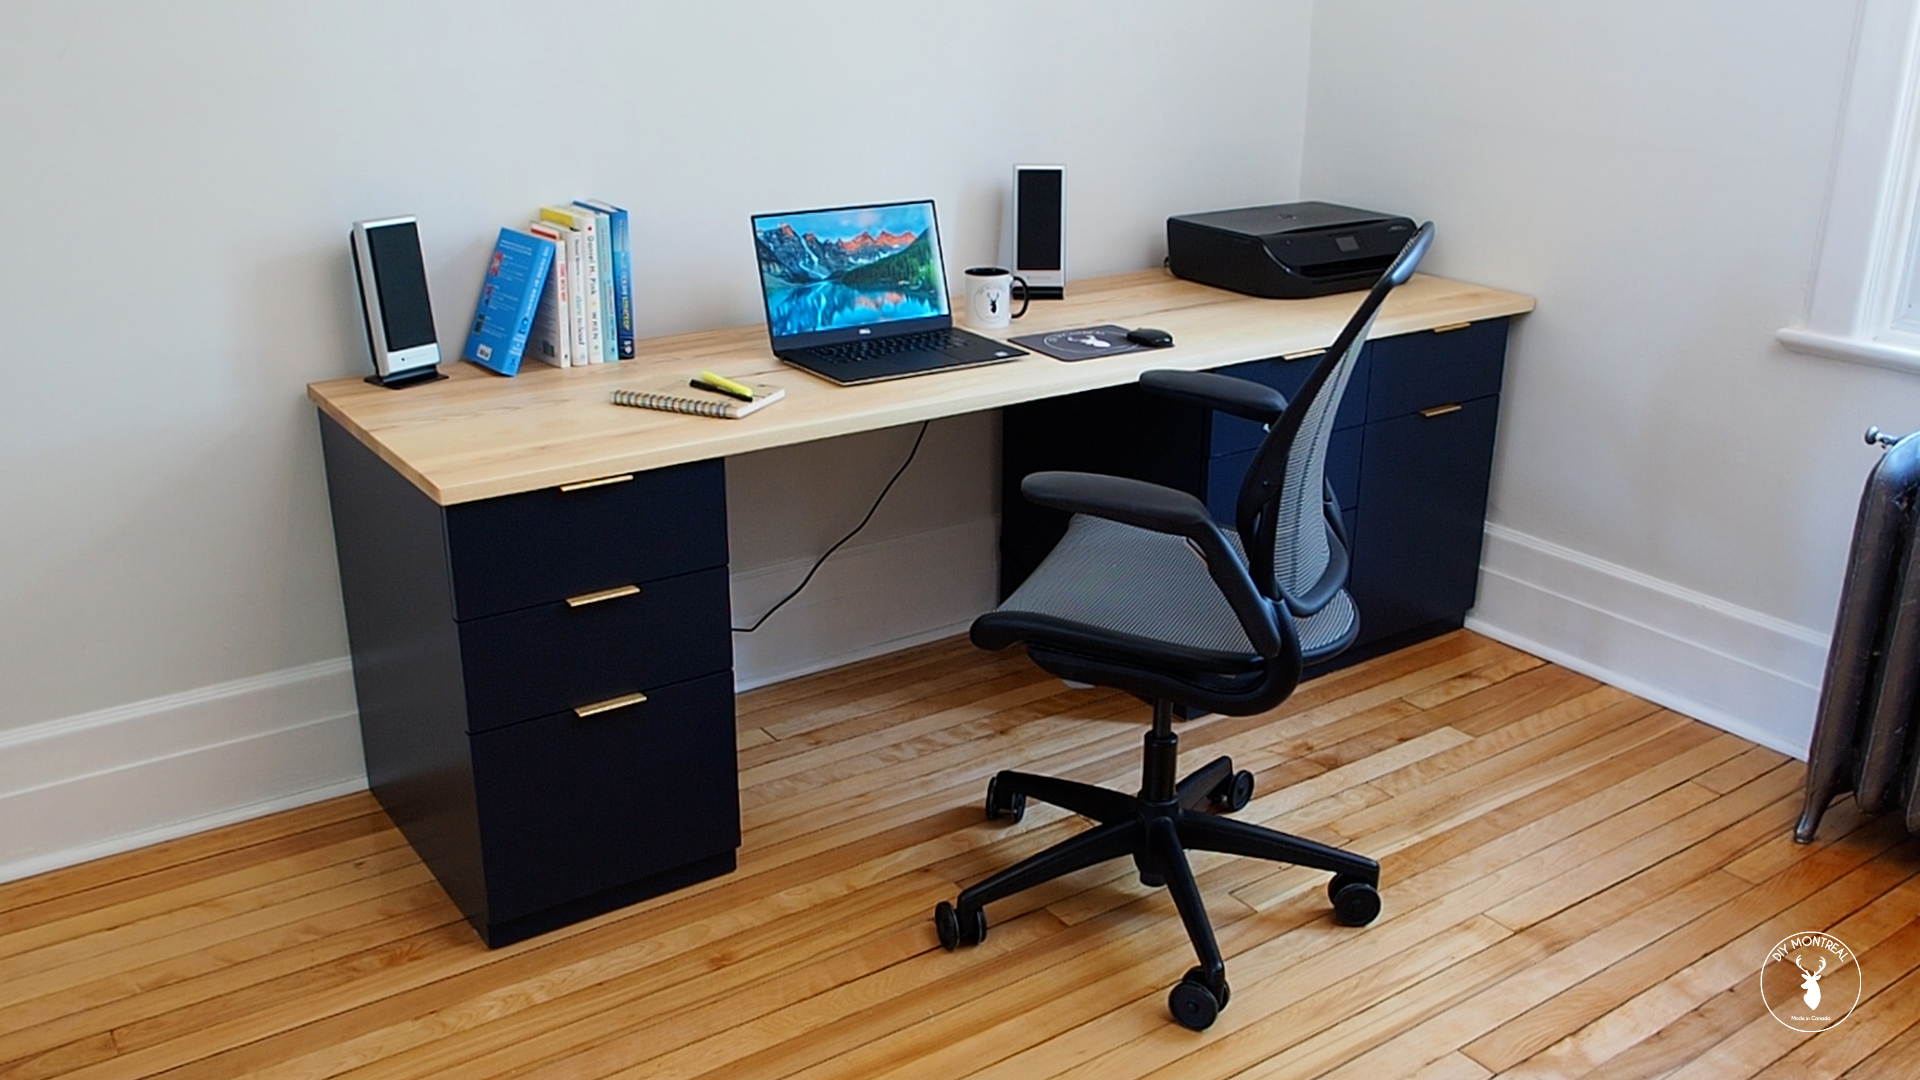
How to build a wooden desk for your home office

Alright, let's get down to business and build you a killer desk! You're tired of that wobbly Ikea contraption, and you're itching to craft something with your own two hands. You want a desk that reflects your style, that feels solid and substantial, and that will be the centerpiece of your home office. This ain't rocket science, but it does require a bit of planning and a sprinkle of sawdust. Let's dive in!
Step 1: Design and Planning
The first step is figuring out what you want your desk to look like. Do you envision a sleek, modern design or a rustic farmhouse feel? How big do you need it to be? Will it have drawers, shelves, or a built-in monitor stand?
Don't be shy, get creative! Think about the space you'll be placing it in and how it will interact with the existing furniture. It's super helpful to draw a quick sketch of your design, maybe even a scaled-down version. This helps you visualize the final product and figure out the dimensions.
Choosing Your Wood
The type of wood you choose plays a huge role in the look and feel of your desk. Oak is a classic choice, known for its strength and durability, but it can be pricey. Pine is more affordable and gives a lighter, rustic vibe. Maple offers a beautiful grain pattern and is sturdy.
Don't discount plywood! It's a cost-effective and stable material that can be stained or painted to match your desired look. Consider the type of finish you want - a natural oil, a glossy varnish, or maybe even a painted surface? All of these factors influence your wood selection.
Tools and Supplies
Gather your tools and supplies, because things are about to get real! You'll need the basics:
Circular saw: To cut the wood to size.
Tape measure: For precise measurements.
Pencil: For marking cuts.
Clamps: To secure the wood while cutting and assembling.
Screwdriver: To fasten the pieces together.
Wood glue: To create strong joints.
Sandpaper: To smooth the surfaces.
Safety glasses: Protect your eyes from flying sawdust.
Ear protection: Because those saws can get loud.
Wood filler: To fill in any gaps or holes.
Your chosen finish: Whether it's stain, paint, or varnish.
Step 2: Cutting the Wood
Now for the fun part: cutting the wood! Using your carefully measured plans, cut the pieces according to your design. Make sure to account for any necessary overhangs or supports. Safety first! Always use a sawhorse or sturdy work surface to support your wood while cutting.
Step 3: Assembling the Desk
Once all the pieces are cut, it's time to bring your desk to life! Start by assembling the frame. This might involve attaching legs to the top surface, creating a base, or adding support beams. Use wood glue generously and clamp the pieces together until the glue dries.
Step 4: Adding Details
Now, let's add those fancy touches. If you're adding drawers, cut and assemble the drawer boxes. You can get creative here with fancy drawer pulls or knobs. If you're including shelves, measure and cut the shelves, then secure them to the desk frame.
Step 5: Sanding and Finishing
It's time to get rid of those rough edges and create a smooth, beautiful finish. Sand the entire desk using progressively finer grits of sandpaper. Start with a coarse grit to remove any imperfections, then work your way up to a fine grit for a smooth, polished finish.
Step 6: Applying the Finish
Finally, the moment you've been waiting for: adding your chosen finish. If you're staining, apply a thin coat evenly across the surface. Let it dry according to the manufacturer's instructions, and then apply a second coat if desired. For a painted finish, choose your desired color and apply several thin coats, letting each coat dry completely before adding the next. To protect your desk and enhance its natural beauty, apply a clear varnish or polyurethane sealant.
Optional Extras:
Add a built-in monitor stand: This can create a sleek, modern look and save valuable desk space.
Include a drawer for cables: Keep those messy cables organized and hidden away.
Add a touch of personalization: A piece of wood with your name or a quote can add a personal touch.
Final Touches:
Once your desk is fully assembled and finished, admire your handiwork! You've crafted a unique and beautiful piece of furniture that will serve you for years to come.
Troubleshooting
Don't worry if you run into a few hiccups along the way. Everyone makes mistakes. If you're struggling with a tricky cut, ask for help from a more experienced woodworker. If you're unsure about a particular step, consult online tutorials or instructional videos.
Most Importantly, Have Fun!
Building a wooden desk is a rewarding experience. Take your time, enjoy the process, and don't be afraid to experiment. You'll learn new skills, create a beautiful piece of furniture, and have a story to tell about the desk you built yourself. Happy building!
No comments:
Post a Comment
Note: Only a member of this blog may post a comment.