Saturday, November 9, 2024
Diy magic box with secret drawers: step-by-step guide

A magic box with secret drawers is a captivating and engaging project that combines woodworking skills with a touch of mystery. This guide will lead you through the process of crafting such a box, from initial planning to the final flourish.
I. Planning and Design
1. Determine the Purpose and Theme: Before embarking on construction, clarify the purpose of the box and the intended theme. Will it serve as a whimsical trinket holder, a discreet hiding place, or a playful game prop? Consider the intended audience, the size and shape of the box, and the complexity of the secret drawers.
2. Choose Materials: Selecting the right materials is crucial. Wood species like pine, oak, or birch are excellent choices for their workability and durability. The choice of wood will influence the aesthetic and overall weight of the box. For a more robust build, consider using plywood or MDF (Medium-Density Fiberboard) for the base and the inner compartments.
3. Sketch a Detailed Design: Sketch out the box dimensions, the placement of the visible drawers, and the hidden drawers. Consider factors like:
Dimensions: Measure the space where the box will be stored to ensure optimal fit.
Drawer Placement: Strategically place the drawers for easy access and a balanced appearance.
Secret Drawers: Determine the size, shape, and location of the secret compartments.
Opening Mechanisms: Choose simple mechanisms like hidden latches or cleverly disguised hinges for the secret drawers.
4. Create a Construction Diagram: Based on your sketch, create a detailed diagram with accurate measurements for all components. This diagram will serve as your blueprint throughout the building process.
II. Construction:
1. Cut and Prepare the Wood: Using precise cuts and careful measurements, cut the wood components according to your diagram. Smooth all edges and surfaces using sandpaper. Sanding helps create a clean and polished finish, making assembly easier.
2. Assemble the Box: Start by constructing the box frame. Glue and clamp the sides, bottom, and top of the box together. Ensure all corners are square and aligned. You can use wood screws for added strength and stability.
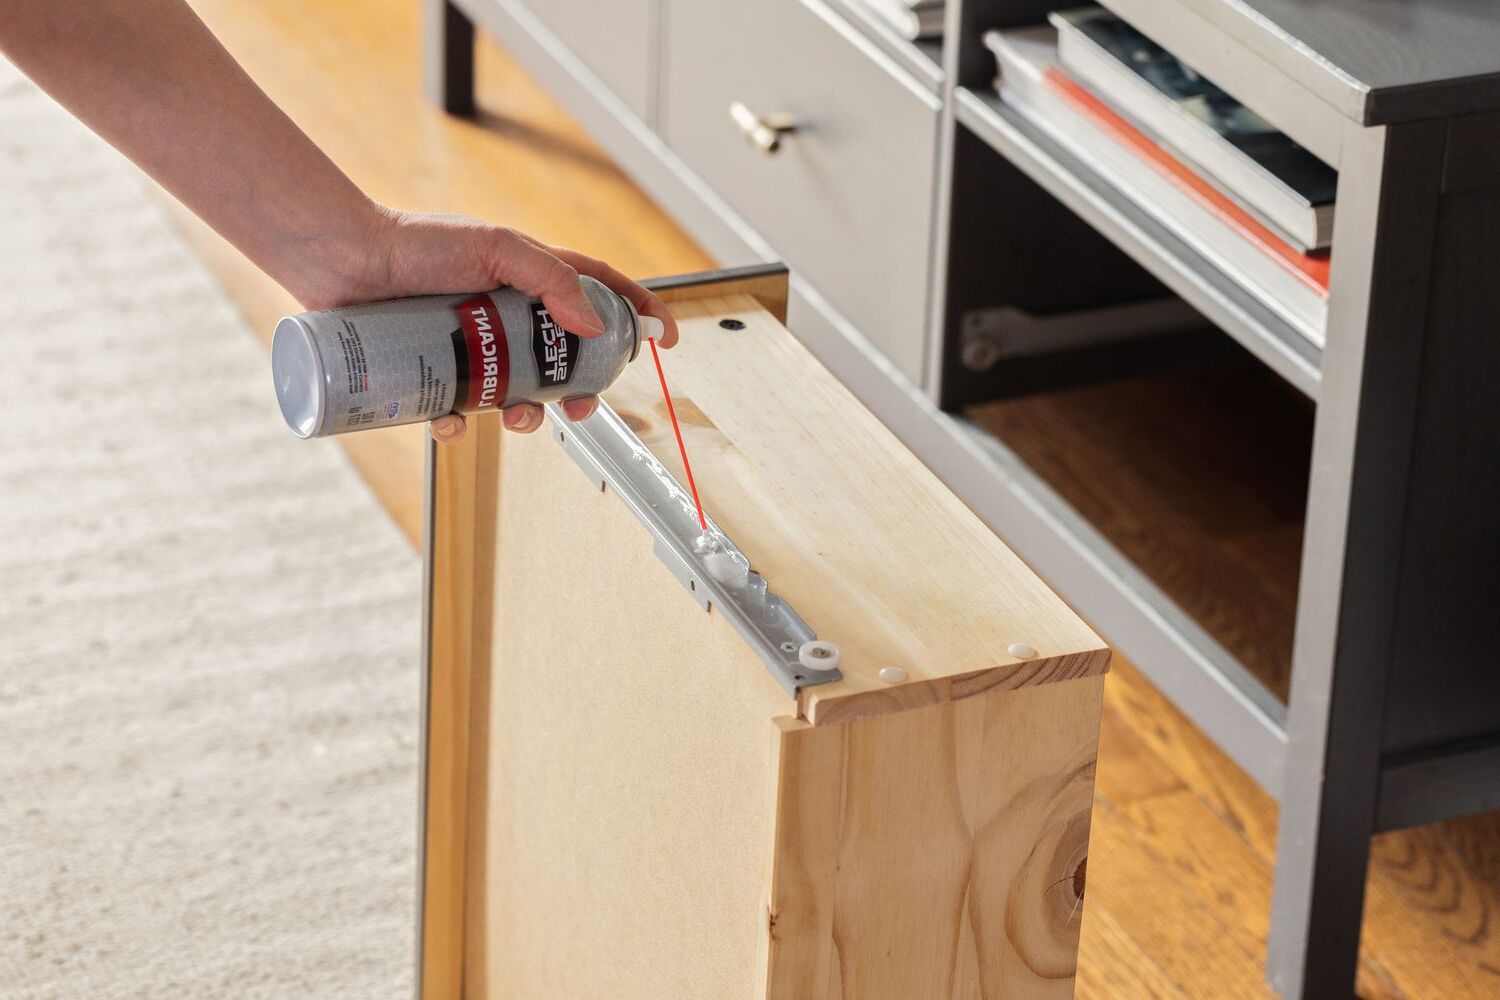
3. Build the Visible Drawers: Create the drawer boxes by cutting and assembling the front, sides, and back pieces. Attach the drawer bottom to the assembled sides. Install drawer slides on the inside of the box and on the bottom of the drawers. Ensure the slides are aligned and move smoothly.
4. Incorporate the Secret Drawers:
Hidden Compartment: Cut a section within the box frame to create a hidden compartment. This can be a separate drawer or a recessed space within the box.
False Bottom: Create a false bottom within the box, concealing a secret compartment beneath.
Secret Drawer Inside Another: Design a drawer within another drawer, with the inner drawer hiding the secret compartment.
Hidden Latch or Hinge: Use a simple latch or hinge to secure the secret drawer, disguised to blend seamlessly with the visible drawer design.
5. Finish the Box: Once the box is fully assembled, sand it thoroughly. This creates a smooth surface for applying the chosen finish. Choose from a range of finishes like paint, stain, or varnish to achieve the desired look.
III. Adding the Finishing Touches:
1. Design and Install Hinges: Select hinges that match the overall design and style of the box. Use screws to secure them to the box and the drawer fronts. Ensure the hinges allow for smooth and quiet opening and closing.
2. Create Drawer Pulls: Design and attach decorative drawer pulls to the visible drawers. You can use pre-made pulls or create custom pulls from wood, metal, or other materials.
3. Add Decorative Details: Enhance the box's aesthetics with decorative details like carving, inlays, or painted patterns. These touches add character and individuality to the magic box.
4. Camouflage the Secret Drawers: Conceal the secret drawer mechanisms using clever tricks like:
Painting: Blend the secret latch or hinge color with the surrounding surface.
Decorative Elements: Place a decorative piece over the secret drawer's opening, making it seem like a regular part of the box.
Misdirection: Create an illusion of a drawer opening elsewhere, diverting attention from the secret compartment.
IV. Finishing Touches:
1. Test the Mechanisms: Thoroughly test all drawers and secret compartments to ensure smooth operation and security. Make any necessary adjustments.
2. Add a Finishing Touch: A final touch like a lockable latch or a hidden keyhole can add an extra layer of intrigue to the magic box.
3. Enjoy Your Creation: Once you are satisfied with the final product, marvel at the craftsmanship and the mystery that your secret drawer magic box now possesses.
V. Tips and Variations:
Complexity: Start with simpler designs and progress to more intricate ones as you gain experience.
Personalization: Add a personal touch by incorporating initials, engravings, or custom artwork.
Creative Use: Think beyond the traditional box shape and experiment with different forms like spheres, cylinders, or irregular shapes.
Hidden Compartments: Explore various ways to hide compartments, such as false walls, secret doors, or even invisible magnetic closures.
Technology: Integrate electronics for hidden LEDs, sensors, or even voice-activated opening mechanisms.
VI. Conclusion:
Constructing a magic box with secret drawers is a challenging yet rewarding endeavor. It combines woodworking skills, creative ingenuity, and a touch of magic. By following this detailed guide, you can create a unique and captivating piece that will surely impress and delight. Let your imagination guide you, experiment with different designs, and enjoy the journey of crafting a box that holds secrets and surprises. Remember, the most enchanting magic boxes are those born from personal creativity and passion.
No comments:
Post a Comment
Note: Only a member of this blog may post a comment.